# Create an Angular Micro Frontend
This tutorial describes the process of building an Angular widget on Entando. It creates a docker-based bundle using the ent bundle CLI tool.
# Prerequisites
node: Use nvm (opens new window) to handle node installations.
Verify dependencies with the Entando CLI:
ent check-env develop.
# Initialize your Bundle Project
- To initialize your project, give it a name and build the scaffolding. This name will be used for the default bundle Docker image.
ent bundle init YOUR-BUNDLE
- Change to the bundle directory:
cd YOUR-BUNDLE
- Add the first MFE with the name
angular-widget:
ent bundle mfe add --stack=angular angular-widget
# Create the Angular MFE
- Navigate into the
microfrontendsdirectory:
cd microfrontends
- Install the Angular CLI:
npm install -g @angular/cli@15.2.0
A specific version of the Angular CLI may be required to maintain compatibility with the Node version used by the ent cli.
- Generate a new Angular application:
ng new angular-widget
- Choose the following options:
? Would you like to add Angular routing? `No`
? Which stylesheet format would you like to use? `CSS`
- From the
angular-widgetdirectory, serve the application:
 cd angular-widget
 ng serve
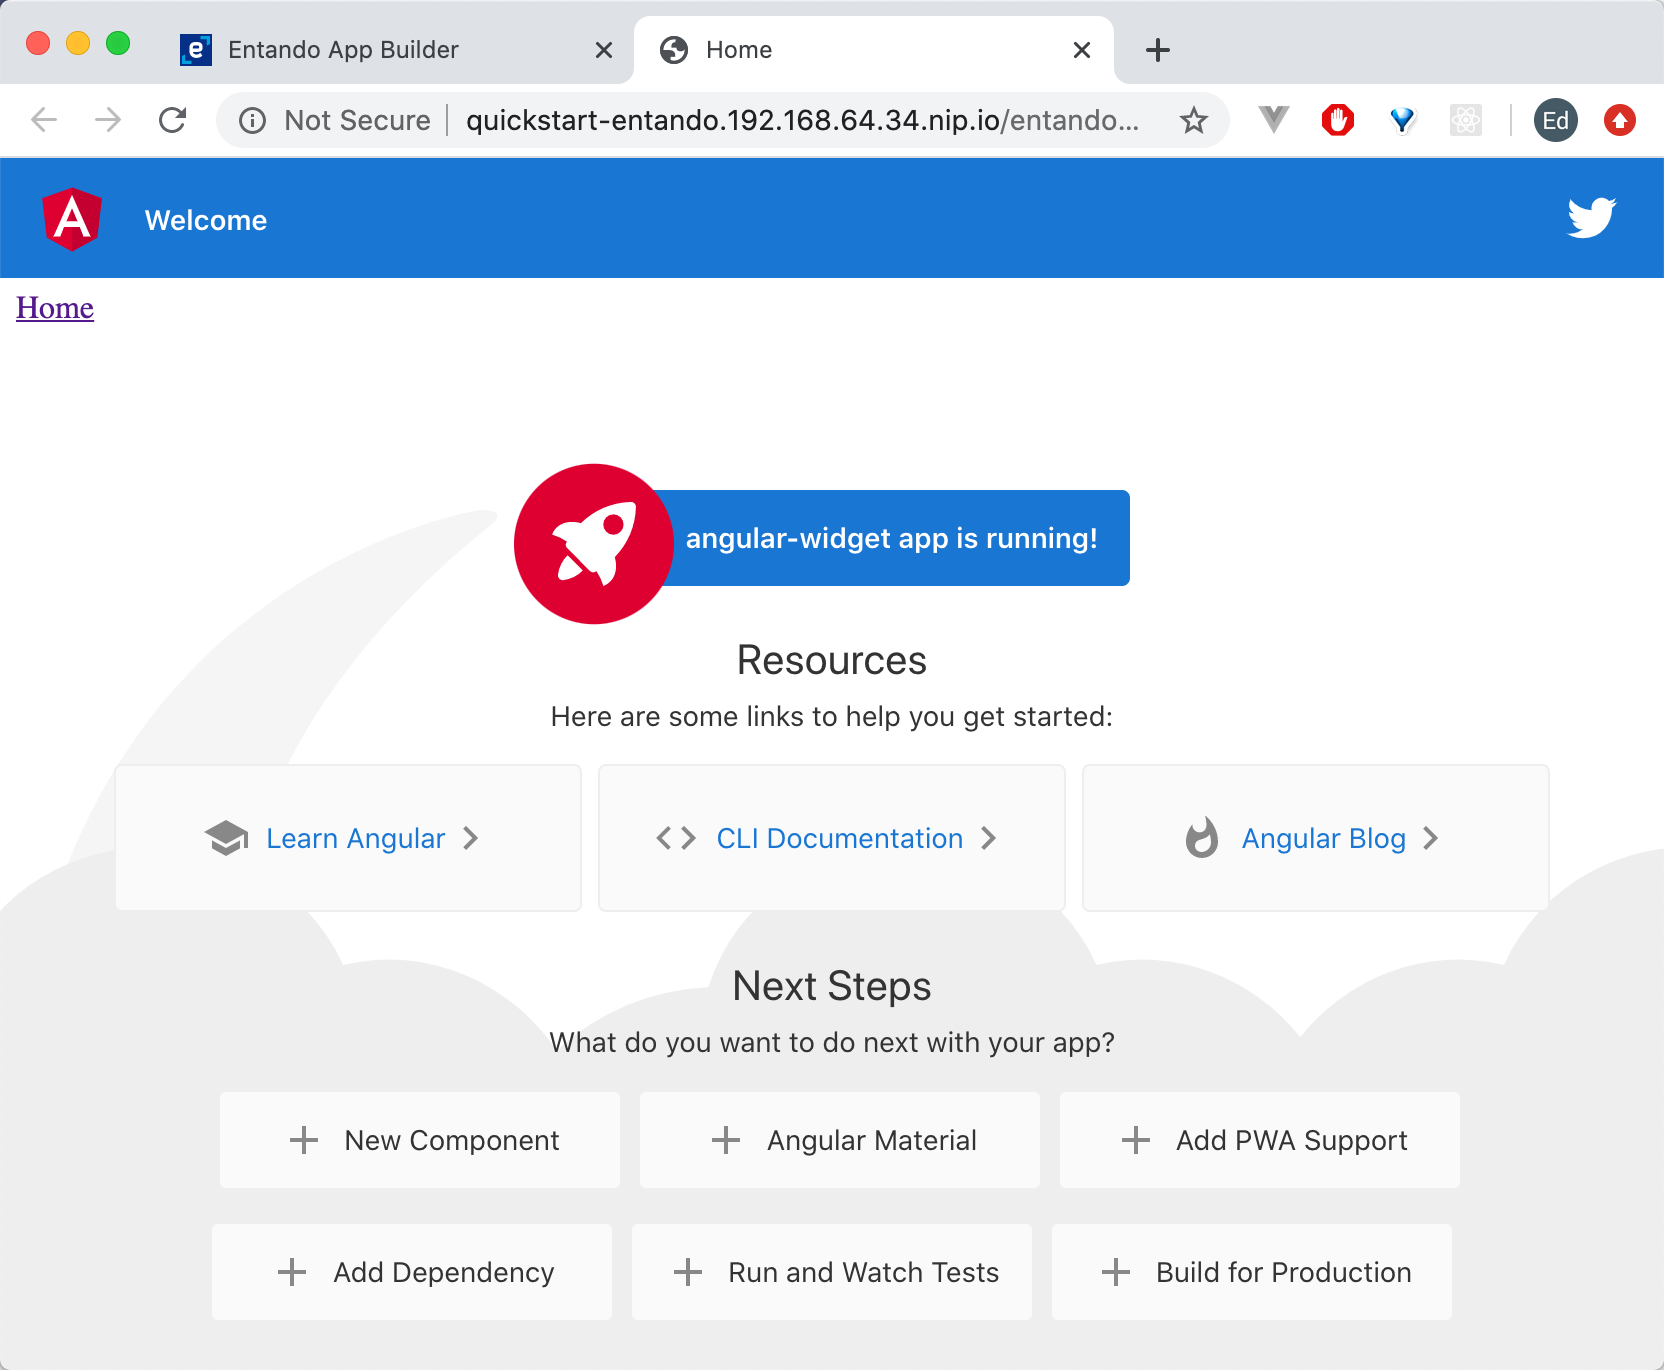
- Access
localhost:4200to confirm the application is working. You should see a message similar to angular-widget app is running!
# Configure the Custom Element
Next, convert the Angular widget into a custom element, using Angular elements (opens new window) to transform components into custom elements.
- Install the Angular elements
ng add @angular/elements
Angular elements (opens new window) are Angular components packaged as custom elements, a web standard for defining new HTML elements independent of any framework.
WARNING
Install the Angular elements package using ng add (not with npm install as it runs additional steps behind the scenes).
Open
angular-widget/src/app/app.module.ts. Here's what the initial file looks like:import { BrowserModule } from '@angular/platform-browser'; import { NgModule } from '@angular/core'; import { AppComponent } from './app.component'; @NgModule({ declarations: [ AppComponent ], imports: [ BrowserModule ], providers: [], bootstrap: [AppComponent] }) export class AppModule { }Replace the entire file with:
import { BrowserModule } from '@angular/platform-browser';
import { NgModule, Injector } from '@angular/core';
import { createCustomElement } from '@angular/elements';
import { AppComponent } from './app.component';

@NgModule({
  declarations: [
    AppComponent
  ],
  imports: [
    BrowserModule
  ],
  providers: []
})
export class AppModule {
  constructor(private injector: Injector) {}

  ngDoBootstrap() {
    const el = createCustomElement(AppComponent, { injector: this.injector });
    customElements.define('angular-widget', el);
  }
}
In the original file,
AppModuleis bootstrapped directly during the application launch. In the updated file, the custom element is bootstrapped using thengDoBootstrap()method (opens new window).
Custom Elements
- Must contain a hyphen
-in the name. (opens new window): - Cannot be a single word.
- Should follow
kebab-casefor naming convention.
# Test the Custom Element
Open
angular-widget/src/index.html.In the
<body>, replace<app-root></app-root>with<angular-widget />:<body> <angular-widget /> </body>Test run the Angular widget:
ng serve
You should see a response after a few moments:
** Angular Live Development Server is listening on localhost:4200, open your browser on http://localhost:4200/ **
- Open your browser at this location and see the Angular widget running. If you inspect the page, you should see the
angular-widgetelement in the HTML.
Yay!
You now have an Angular micro frontend running.
# Build, Publish and Install the Bundle
# Build and Publish the Bundle
- Open
entando.jsonin the bundle root folder and add the following under theangular-widgetparameters.
"buildFolder": "dist/angular-widget"
(Optional) Add a thumbnail JPEG or PNG file to the root bundle folder. It must be named
thumbnailand not exceed 100kB, e.g. thumbnail.png.You can now build and install the bundle. See the Build and Publish tutorial for more details on the steps.
ent bundle packent bundle publishent bundle deployent bundle installLog in to the App Builder and navigate to the Hub in the left nav to see the installed bundle.
# Add the Bundle to a Page
Let's see the Angular micro frontend in action on a page.
In the App Builder, go to
Page→ManagementChoose an existing page (or create a new one). Select
Designfrom itsActions.In the
Searchfield in the right sidebar, enterangular-widget. It can also be found underUserat the bottom of the sidebar.Drag and drop the
angular-widgetinto a frame in the main body of the page.Click
PublishClick on
View Published Page
Congratulations!
You now have an Angular micro frontend running in Entando.
Next Steps
Learn more about Communication between Micro Frontends.
Try the Add a Configuration Screen in App Builder tutorial.
Generate Microservices and Micro Frontends with an Entando Blueprint.
← React Communication →