# Create a React Micro Frontend
Prerequisites
Tested Versions
node v13.8.0 → We suggest using nvm (opens new window) to handle node installations.
# Create React App
We'll use Create React App (opens new window) to create a simple app in seconds.
npx create-react-app my-widget --use-npm
This is the expected output:
my-widget
├── README.md
├── node_modules
├── package.json
├── .gitignore
├── public
│   ├── favicon.ico
│   ├── index.html
│   ├── logo192.png
│   ├── logo512.png
│   ├── manifest.json
│   └── robots.txt
└── src
    ├── App.css
    ├── App.js
    ├── App.test.js
    ├── index.css
    ├── index.js
    ├── logo.svg
    ├── serviceWorker.js
    └── setupTests.js
Start the app.
cd my-widget
npm start
# Wrap with Custom Element
Add a new file src/WidgetElement.js with the custom element that will wrap the entire React app.
import React from 'react';
import ReactDOM from 'react-dom';
import App from './App';

class WidgetElement extends HTMLElement {
    connectedCallback() {
        this.mountPoint = document.createElement('div');
        this.appendChild(this.mountPoint);
        ReactDOM.render(<App />, this.mountPoint);
    }
}

customElements.define('my-widget', WidgetElement);

export default WidgetElement;
TIP
connectedCallback is a lifecycle hook that runs each time the element is added to the DOM. (opens new window)
The React root node is programatically generated in the connectedCallback method when our custom element is added to the DOM.
Custom Elements
- Must contain a hyphen
-in the name. (opens new window): - Cannot be a single word.
- Should follow
kebab-casefor naming convention.
# Import Custom Element
Open src/index.js. Here's what the initial file looks like:
import React from 'react';
import ReactDOM from 'react-dom';
import './index.css';
import App from './App';
import * as serviceWorker from './serviceWorker';

ReactDOM.render(<App />, document.getElementById('root'));

// If you want your app to work offline and load faster, you can change
// unregister() to register() below. Note this comes with some pitfalls.
// Learn more about service workers: https://bit.ly/CRA-PWA
serviceWorker.unregister();
Replace the entire file with these two lines.
import './index.css';
import './WidgetElement';
# Test Micro Frontend
Open
public/index.html.Replace
<div id="root"></div>with the custom element<my-widget />.
  <body>
    <noscript>You need to enable JavaScript to run this app.</noscript>
    <my-widget />
    ...
  </body>
Congratulations!
You’re now running React in a containerized micro frontend.
# Get Resource URL
Let's add our micro frontend to Entando by adding our JavaScript and CSS files to the public folder.
TIP
Entando makes files publicly available through the public folder.
# Add Widget
Initially, we'll add a widget to get the resource URL for the public folder. Later on, we'll use the same widget to add our micro frontend to Entando.
Go to
Entando App Builderin your browser.Click
UX Patterns→Widgetsat the top nav.Click
Addat the upper right.Enter the following:
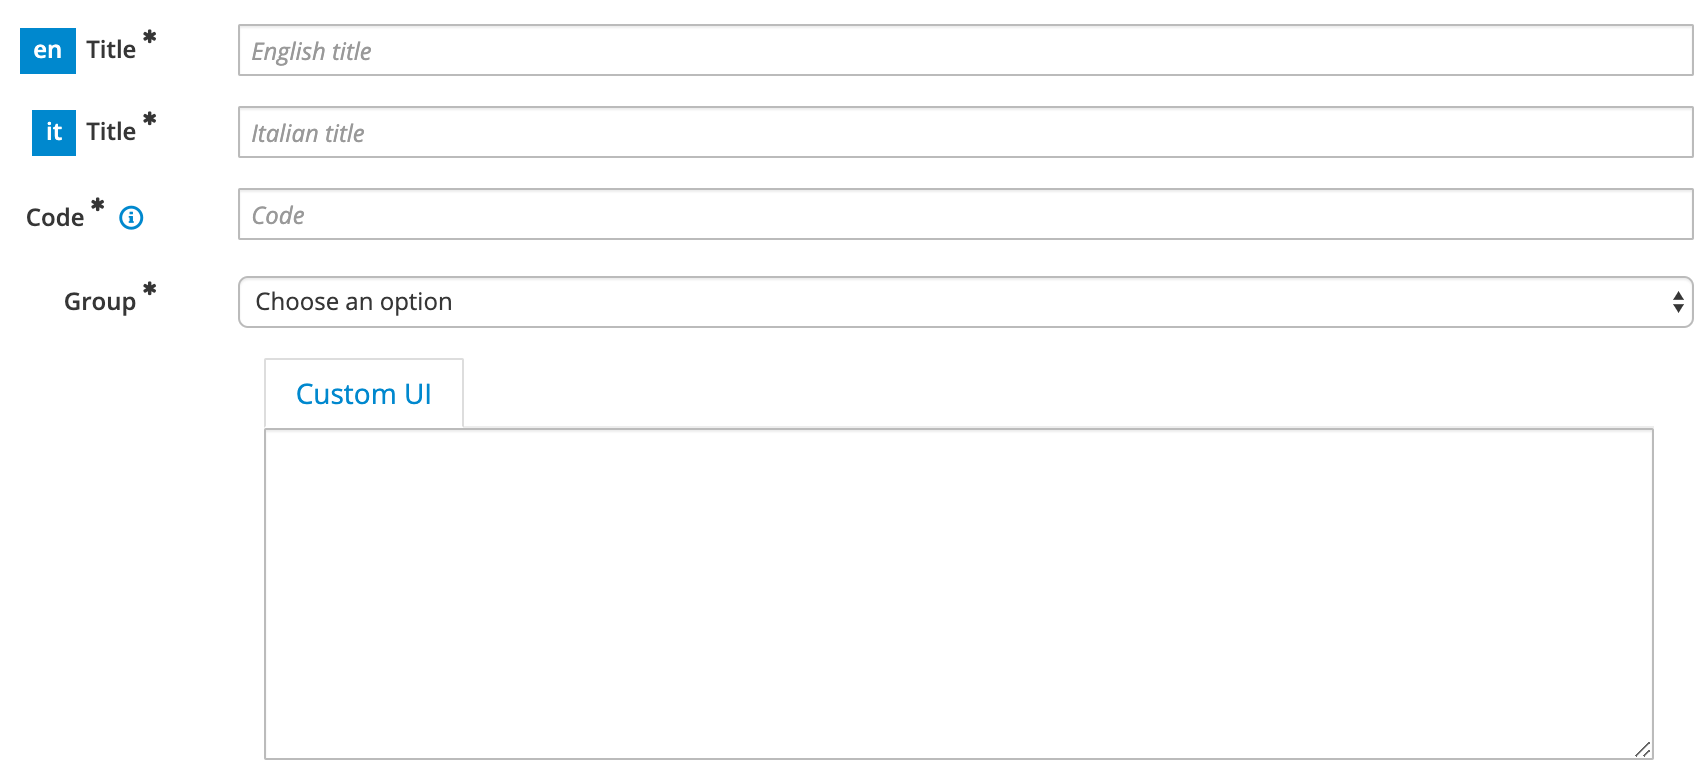
Title: My Widget→ for both English and Italian languagesCode: my_widget→ note: dashes are not allowedGroup: Free AccessCustom UI:
<#assign wp=JspTaglibs[ "/aps-core"]>
<@wp.resourceURL />
TIP
<#assign wp=JspTaglibs[ "/aps-core"]> gives you access to the @wp object where you can use environment variables like resourceURL.
- Click
Save.
# Add Page
Next, let's add our widget to a page so we can view the Resource URL.
If you're getting started with a new install of Entando, let's add our widget to the Home page:
For Experienced Entando users:
Add a new page → Add your widget to the page
Click
Page Designer→Page Treeat the top nav.Next to the
Homefolder, underActions, clickEdit.Next to
Page TemplateselectService Page.Click
Save and Configure.In the Search field in right-hand sidebar, enter
My Widget.Drag and drop
My Widgetinto theSample Framein the main body of the page.Click
Publish.At the upper right, click
Go to Homepage.
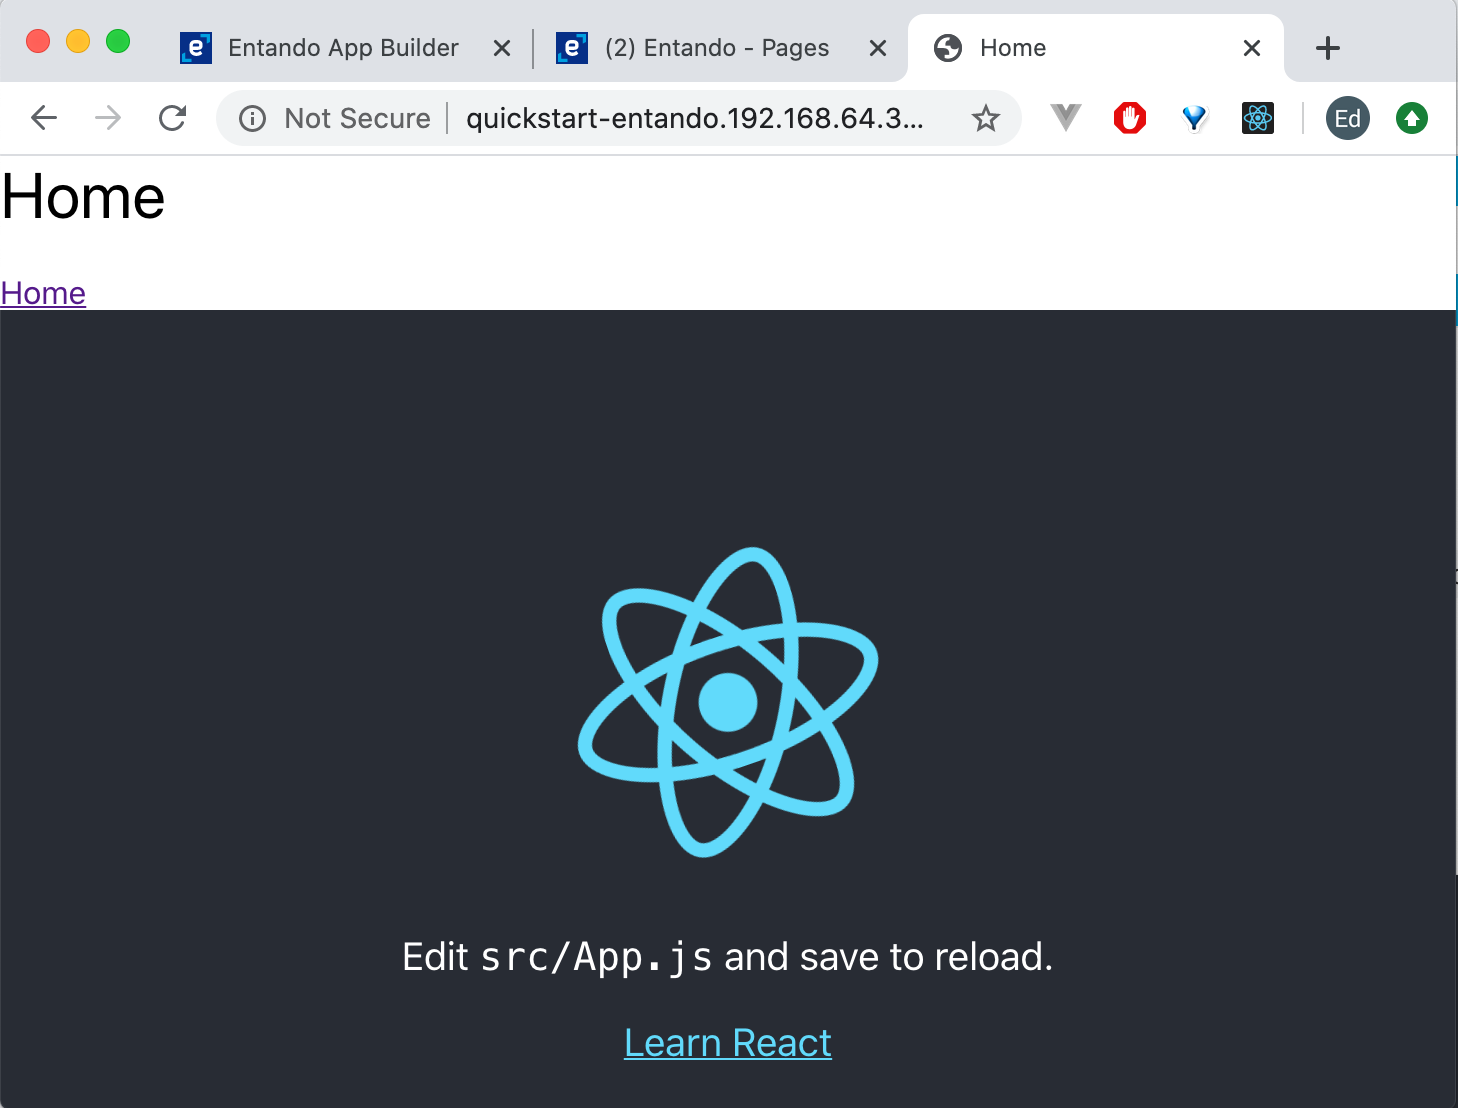
- This will take you to a blank home page with your widget.
- Copy the
Resource URL.
/entando-de-app/cmsresources/
# Build It
Now that we have the resource URL where we'll host our Create React App, we're ready to build.
Create an
.envfile in the project root of yourCreate React App.Add the
PUBLIC_URLwhere we'll be hosting our files.
Example:
PUBLIC_URL=http://quickstart-entando.192.168.64.34.nip.io/entando-de-app/cmsresources/my-widget
- Replace
quickstart-entando.192.168.64.34.nip.io/app-builderwith the URL for your Entando App Builder instance. → How to find your Entando App Builder URL.
Notes
quickstart-entando.192.168.64.34.nip.iorepresents yourEntando App Builderinstance./entando-de-app/cmsresources/is your Resource URLmy-widgetis the public folder we'll create to host our files
# npm build
Open a command line, and navigate to the project root of your
Create React App.Run the command:
npm run build
- Rename the following generated files in the
builddirectory.
| Example of Generated Build File | Rename to | Function |
|---|---|---|
| build/static/js/2.f14073bd.chunk.js | static/js/vendor.js | Third-party libraries |
| build/static/js/runtime-main.8a835b7b.js | static/js/runtime.js | Bootstrapping logic |
| build/static/js/main.4a514a6d.chunk.js | static/js/main.js | App |
| build/static/css/main.5f361e03.chunk.css | static/css/main.css | Stylesheet |
Generated Build Files
We rename the JavaScript and CSS files so we can deploy new versions of the micro frontend without having to update the Custom UI field of our widget to reference the new files.
If you want to use the original file names with the content hashes to avoid potential caching issues in your browser (opens new window), update the Custom UI field of your widget when deploying new versions of your micro frontend. The Custom UI settings will be covered in the next section.
Additional Deployment Options
- Install the micro frontend from a bundle in the
Entando Component Repository. - Add the micro frontend to
Entando App Builder. - Load the micro frontend from an API.
# Host Micro Frontend
Now we're ready to host our micro frontend in Entando.
# Create Public Folder
Navigate to
Entando App Builderin your browser.Click
Configurationat the upper right hand side of the screen.Click the
File Browsertab.Click the
publicfolder.Click
Create Folder.Enter
my-widget.Click
Save.Click
public→my-widget.Create the same folder structure as your generated build directory
my-widget/static/cssmy-widget/static/js
- Upload the files we renamed in the corresponding
jsandcssfolders.
my-widget/static/css/main.cssmy-widget/static/js/main.jsmy-widget/static/js/runtime.jsmy-widget/static/js/vendor.js
Note: You can drag and drop the files in your browser.
- Upload the
Reactlogo.
my-widget/static/media/logo.5d5d9eef.svg→ You don't need to rename this file.
# Update Custom UI Field
Click
UX Patterns→Widgets.Under the
My Widgetscateogory → next toMy Widget→ underAction→ selectEdit.Update
Custom UIfield:
<#assign wp=JspTaglibs[ "/aps-core"]>
<link rel="stylesheet" type="text/css" href="<@wp.resourceURL />my-widget/static/css/main.css">
<script async src="<@wp.resourceURL />my-widget/static/js/runtime.js"></script>
<script async src="<@wp.resourceURL />my-widget/static/js/vendor.js"></script>
<script async src="<@wp.resourceURL />my-widget/static/js/main.js"></script>
<my-widget />
- Click
Save.
# View in Homepage
Let's see the React micro frontend in action on our page.
In the
Entando App Builderdashboard, clickGo to Homepageat the upper right.Go to the page that you created, and click refresh.
Congratulations!
You now have a React micro frontend running in Entando.
Angular →