# Digital Assets
The Web Content Management System (WCMS) includes capabilities that let you manage contents and digital assets. Digital Assets are images, documents, and other media files in specific formats.
Default Supported Document Formats: The Entando WCMS can be
configured to allow you to load or exclude any type of file extension
from being loaded to your site. For the app builder you should also include the MIME type of the asset you want to allow. The default set of extensions are:
pdf,xls,doc,ppt,txt,rtf,sxw,sxc,odt,ods,odp,tar,gz,zip,rar,flv,swf,avi,wmv,ogg, mp3,wav,ogm,mov,iso,nrg,docx,docm,xlsx,xlsm,xlsb,pptx,pptm,ppsx,ppsm,sldx,sldm
Default Supported Image Formats: jpg, jpeg, png, svg,svg+xml
# Create a Digital Asset
To manage the Digital Assets through the WCMS:
- Go to
Content → Types
Add a new image or a new document file
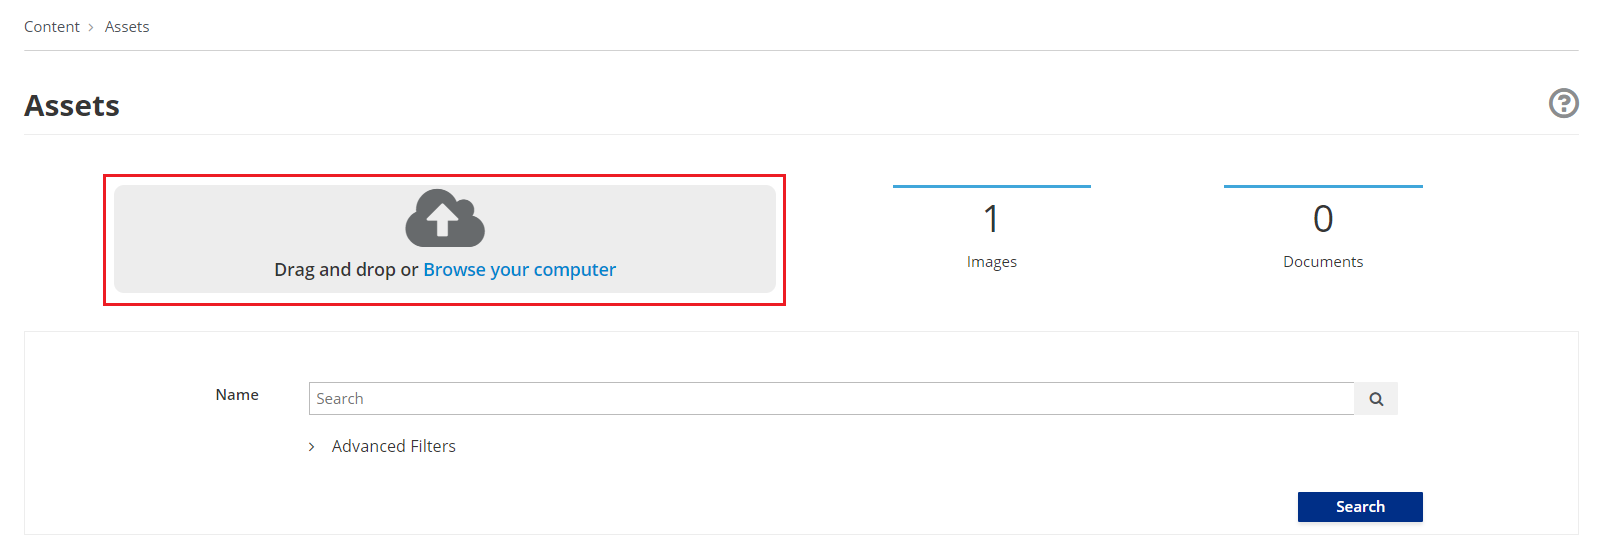
- Press the Drag and Drop or Browse your computer button and choose, from your file system, images and documents files that you would like to upload
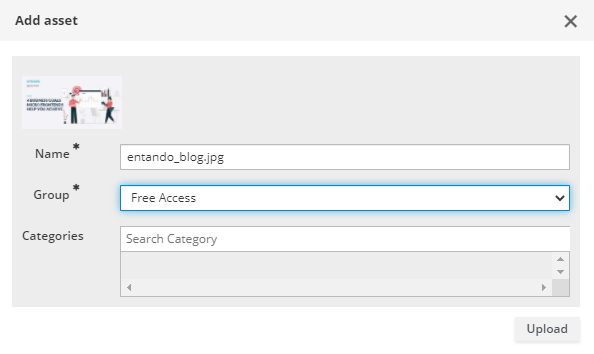
- From the Add file modal window, you must choose one of the available Groups and then the Upload button. If categories have been defined, you can apply them to the asset in this step.
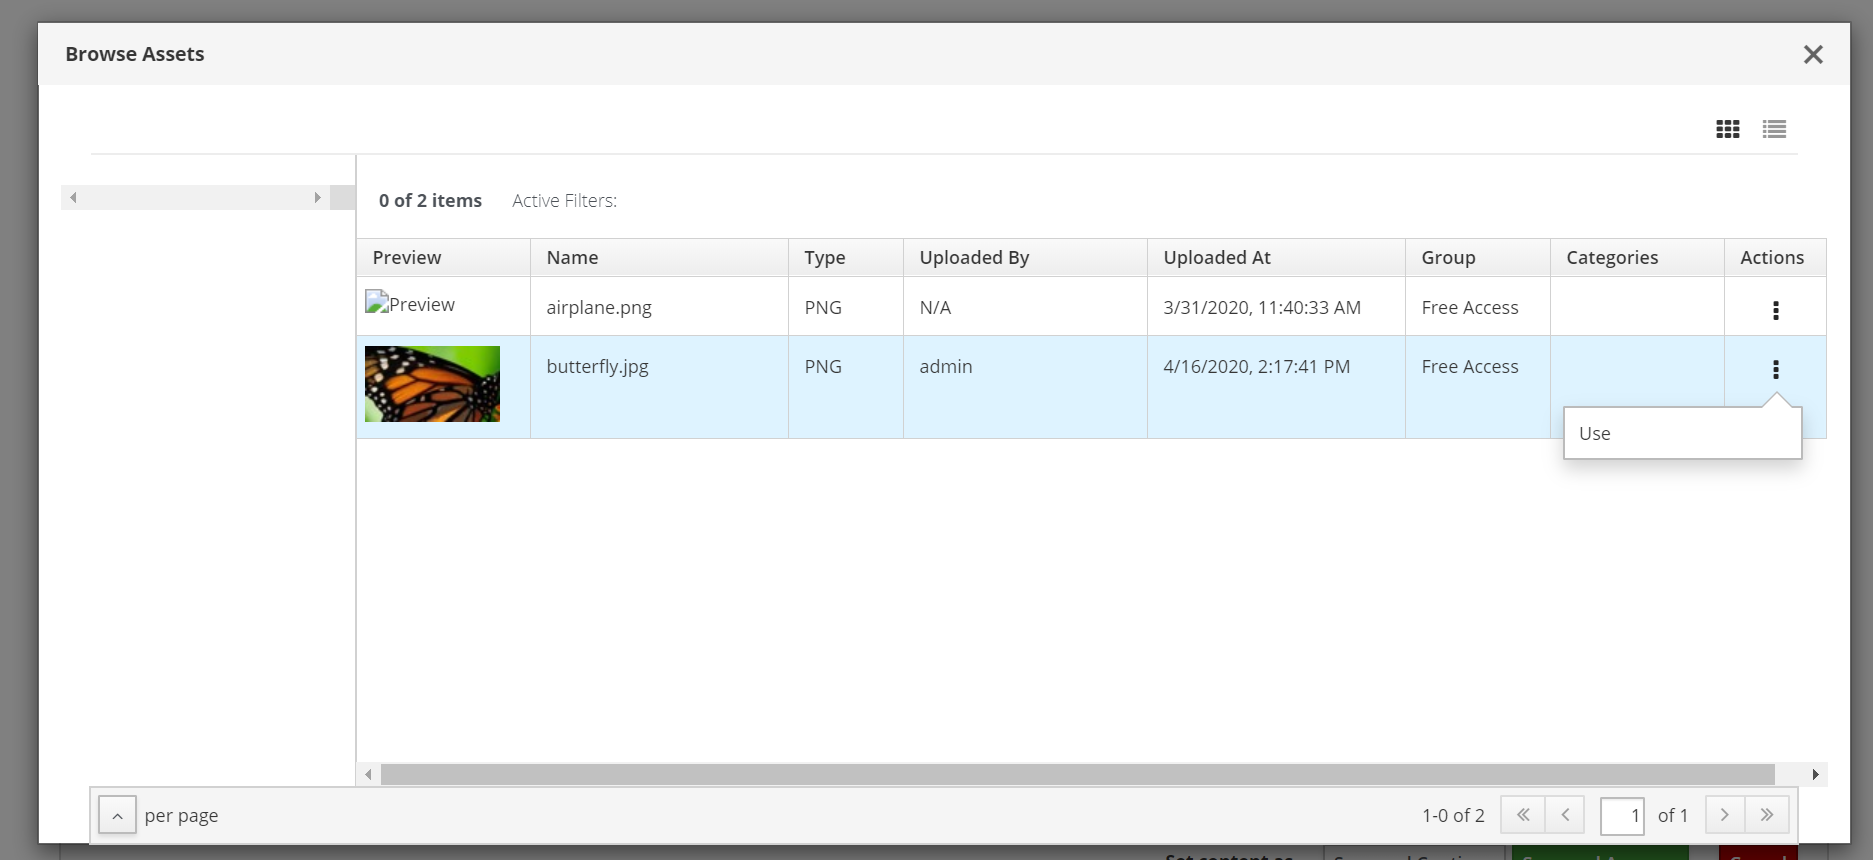
The image file that you just uploaded is displayed in the list; a statistical overview of the number of the uploaded resources (images and documents) is provided. The App Builder’s interface allows the users to choose grid and list view; most of the time, users prefer to use list view when they are searching with specific requirements, while they love grid view for exploring. For every resource, image, or document, the list shows the following information:
Preview
Name
Type
Uploaded By
Uploaded At
Group
Categories
Actions
Furthermore, the interface lets you perform all management actions, as:
Edit: update the information data related to every single resource (image and document)
Duplicate: copy identically the resource from the original
Download: transfer the resource to your local machine
Delete: remove the resource
You can list the contents by filtering with:
All: All added files are displayed, images and documents both.
Images: All added images are displayed
Documents: All added documents are displayed.
# Editing Assets
Once you have a digital asset in place, you have several editing and viewing options. Click the asset's Actions button and select Edit to update the asset's name/description, categories, and the file represented.
# Cropping Images
You can crop images newly uploaded via Digital Assets. You can either crop the image dynamically or by using pre-configured crop ratios.
To set pre-configured crop ratios:
- Select
CMS → Content Settings - Under
Settings Image Crop Dimensions,click Add crop dimension. - Enter a crop ratio, using numeric values separated by a colon.
- Click Save.
To dynamically crop an image:
- Edit the asset by opening Actions menu > Edit.
- Buttons representing your pre-defined crop ratios are below the image. Clicking any of those buttons changes the selected crop area based on the chosen ratio.
- You can create multiple crops of a single image as part of the upload process. The right side of the screen displays the list of crops created during the current session.

- Use your mouse or the buttons below the image to move or change the crop area, then click Save to crop the selected area. Repeat the process as many times as needed.
- Click Close to return to the Digital Assets screen.
# Embedding an Asset in a Page
The uploaded asset can be embedded in a page by using <@wp.resourceUrl path/to/asset. The path can be found in the CMS Configuration > File Browser page.

Example usage:
<img src="<@wp.resourceUrl cms/images/butterfly_d0_d3.jpg"
# Including an Asset in a Content
The asset can be included in a content of a type that has an Attach or Image attribute.
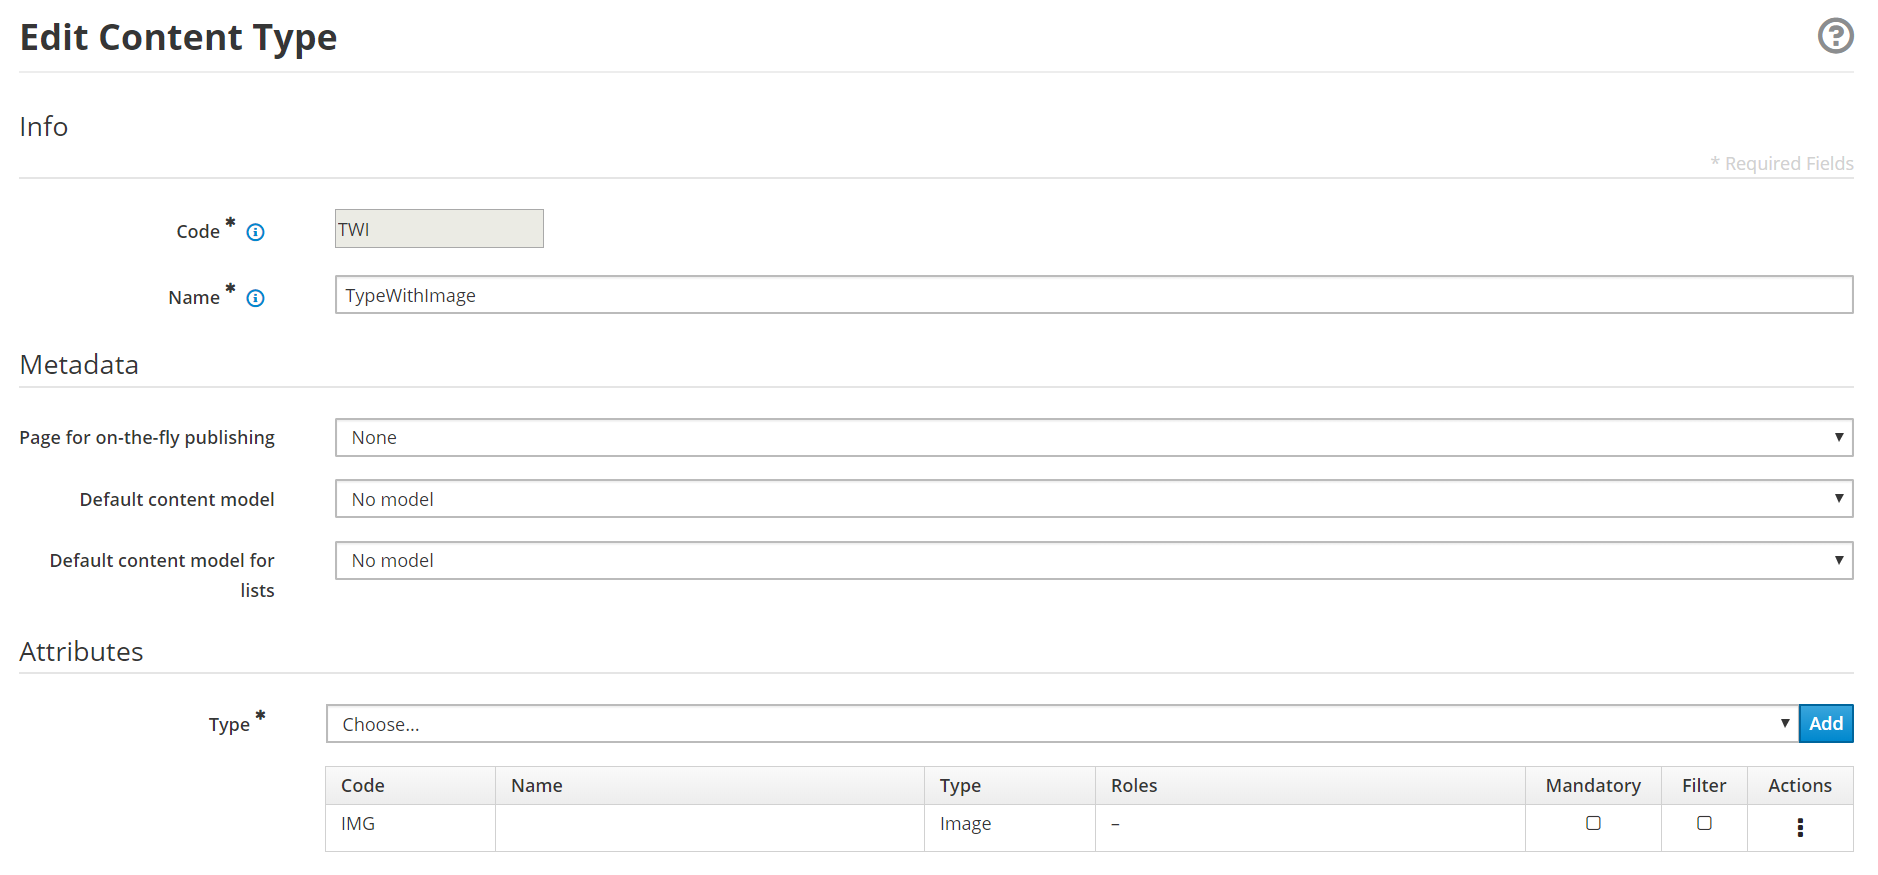
- Create a content type with an image attribute.
- Create a content based on the created type.
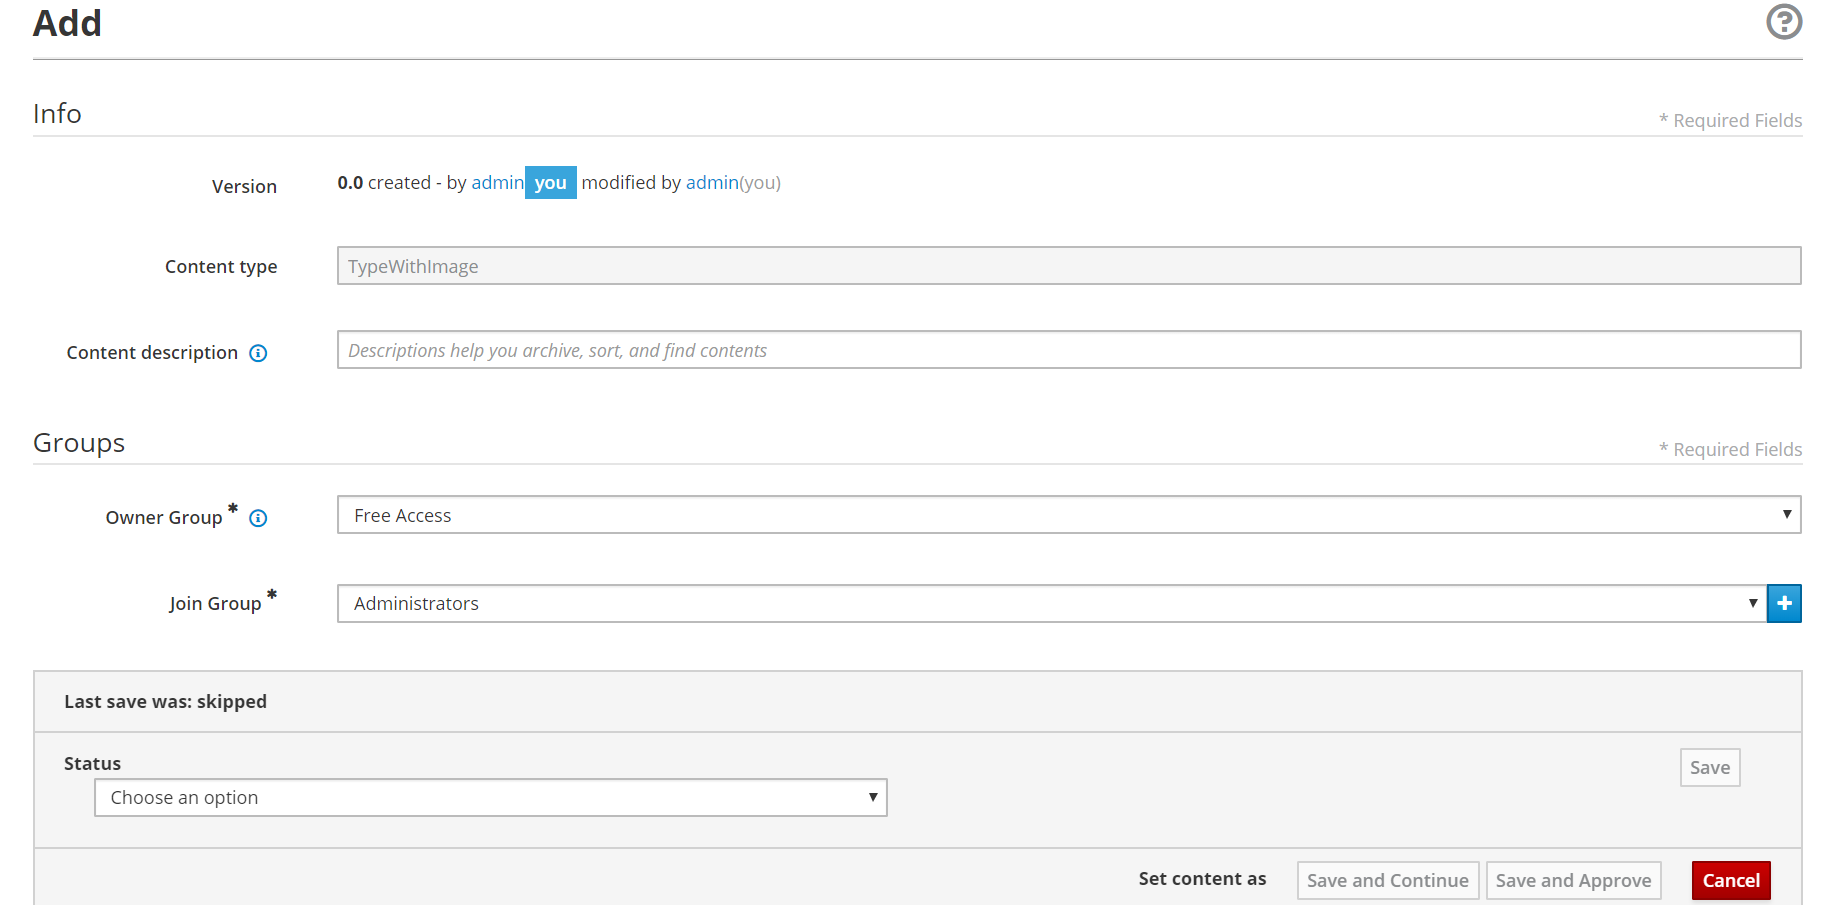
- Under the Content Attributes section at the bottom of the page, click the Add button beside the image attribute. It will then open a modal that allows you to select an asset by clicking the Use action.
# Configuring Allowed File Extensions for Upload
The types of files that can be uploaded to an Entando application are controlled by
configuration in the server side of the app builder. If you're using the quickstart this will be the
entando-de-app.
There are two properties that control these settings and they are set in src/main/conf/systemParams.properties and are a comma delimitted list of values. The property keys are
jacms.imageResource.allowedExtensions=jacms.attachResource.allowedExtensions=
If you are configuring the upload for both the App Builder and the legacy Admin Console you should include both the MIME type of the asset and the file extension. The APIs that support resources will check MIME type of the uploaded asset.
An example configuration for images.
jacms.imageResource.allowedExtensions=jpg,jpeg,png,svg,svg+xml
Where svg+xml is the MIME type for an svg image.
The systemParams.properties file is bundled into the WAR and the image for the application so you will need to create and deploy image to reflect changes for these properties in your application.