# Entando Standard Demo Application
# Application Details
The Entando Standard Demo application demonstrates a number of the major features in the Entando platform including:
- Keycloak integration for role based access controls
- Micro frontends implemented using React and Angular and co-existing on the same dashboard page
- Micro front communication techniques
- Microservices run via Spring Boot
- Entando Content Management
# Micro Frontends (MFE)
The application includes six custom micro frontends which are described below.
# 1. Seeds Card
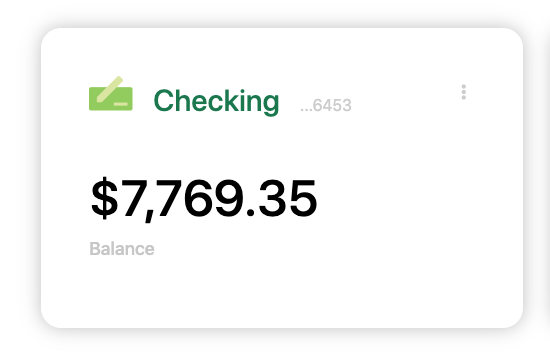
- The Seeds Card MFE is a React micro frontend that is visible on the My Dashboard page. The MFE makes an API call to the banking microservice to fetch a numeric result depending on the configured card type. The value displayed will change as the configuration is changed.
- The MFE is authorization-aware and will pass the bearer token to the microservice for authorization and authentication. If you render the dashboard page and you aren't authenticated the widget shows an error message.
- This widget emits events that are consumed by the Seedscard Transaction Table widget
# 2. Seeds Card NG
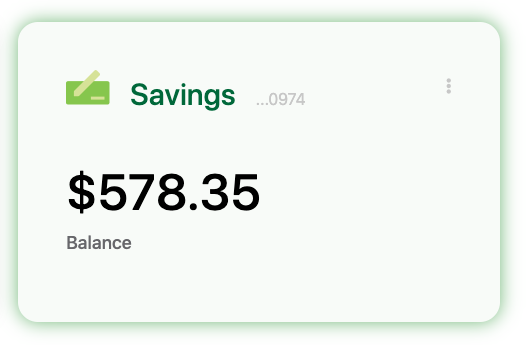
- The Seeds Card NG MFE is an Angular widget that is identical to the Seeds Card widget above except for the choice of front end technology.
- This MFE communicates with Seedscard Transaction Table widget which is implemented in React.
# 3. Manage Users
Authorized View

Not Authorized View

- The Manage Users MFE makes an API call to Entando Identity Management to fetch user information. The MFE is visible under the dropdown under the username when the user is logged into the app.
- By default the users provisioned in the application do not include the authorization required to manage users in Entando Identity Management. This is used to demonstrate role based access control for an MFE using Keycloak. To enable the Manage Users widget login to Keycloak and assign the
view-usersandmanage-usersroles from the realm-management client to the desired user.
# 4. Seedscard Transaction Table
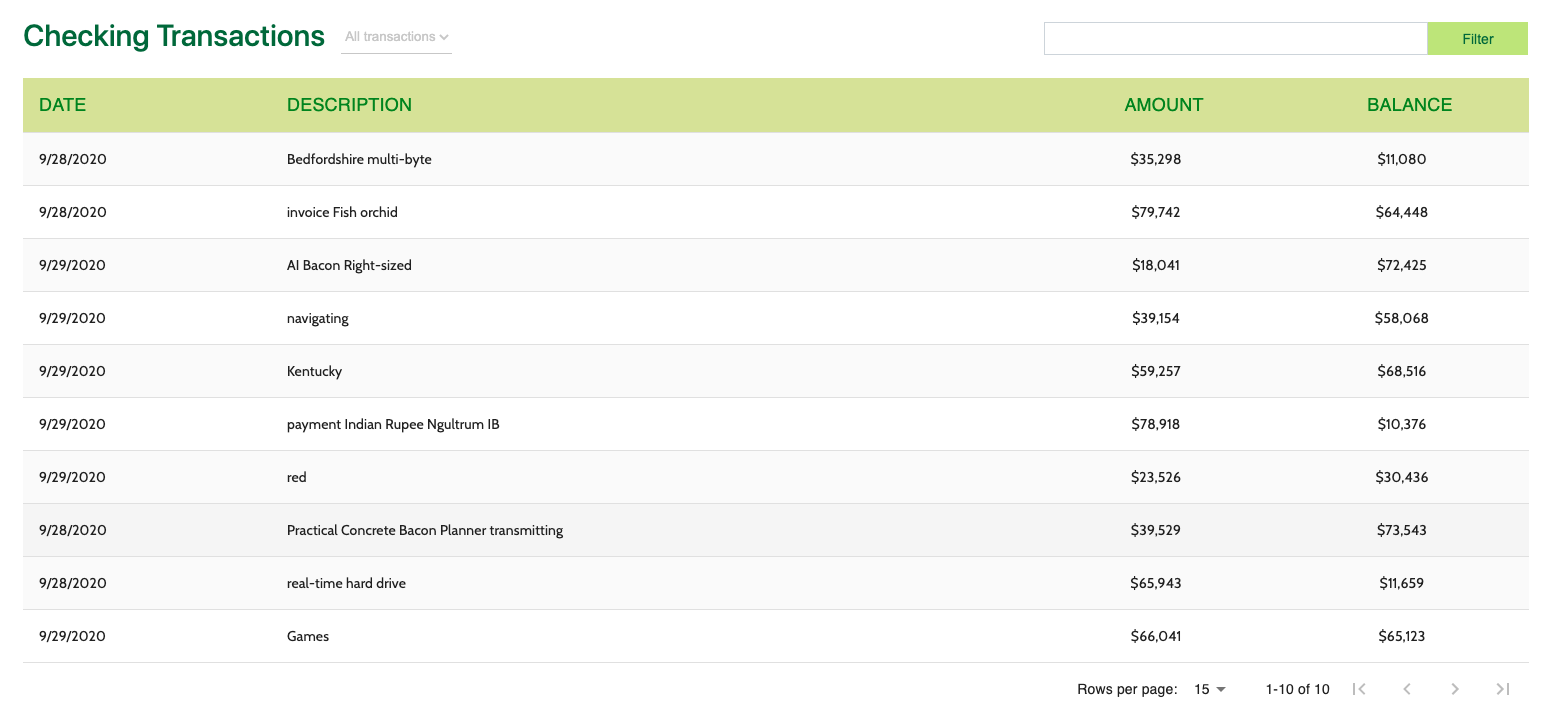
- This MFE is a React micro frontend that consumes events from the Card MFEs detailed above.
- The Transaction Table widget makes an API call to the banking microservice to fetch transaction data for the logged in user.
# 5. Signup
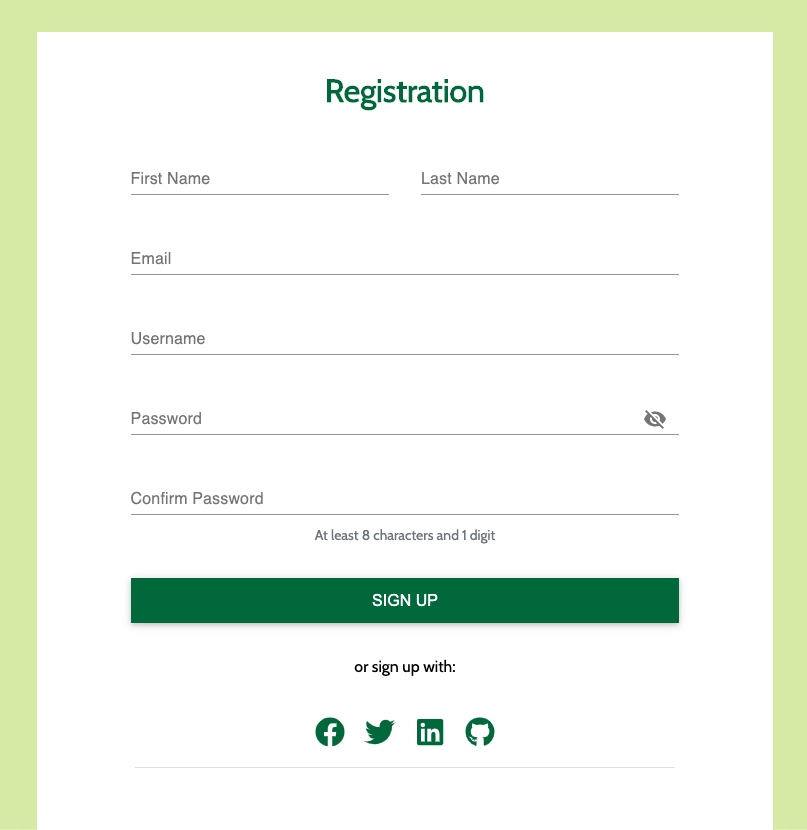
- The Sign Up MFE is a form widget that makes an API call to the customer microservice to create a new user. The Signup MFE is visible on the sign up page and can be accessed from any page when a user is not authenticated.
# 6. Alert Icons

- The Alert Icon MFE displays an icon on the dashboard page and includes a configuration MFE to allow the user to select the appropriate icon and datatype to display.
- The Alert Icon MFE makes an API call to the banking microservice to fetch data in the default deployment.
# Configuration Micro Frontends
Many of the MFEs detailed above include configuration screens visible in the App Builder when the MFE is placed on a page. In the App Builder navigate to Components -> Micro frontends & Widgets to see the configured MFEs. To see the rendered config screen place the MFEs above on a new page.
# Microservices
The application includes two microservices (service paths: /banking and /customer) to support the data visible in the MFEs detailed above. Both microservices demonstrate the automated deployment and linking of a microservice to an Entando application via the Entando operator.
The data for the microservices is created using Liquibase and demonstrates using the operator and Liquibase + Spring Boot to automatically provision data into an environment. The demo data is available in the source code for the microservices on GitHub.
# Static Widgets
The application uses static HTML, FreeMarker, and JavaScript widgets to display content including headers, footers, images and other content in the application. To view the static widgets log into the App builder and select Components -> Micro frontends & Widgets
# Static CMS Content
The application makes extensive use of the Entando CMS. This includes the creation of content templates, content types, and content. If you want to learn more about the Entando CMS in the application log into the App Builder and select Content -> Templates, Content -> Management, or Content -> Types as good starting points to view the content and static assets.
# Installation
# Installation in OpenShift
- Prepare OpenShift
Create a namespace
oc new-project entando
Deploy the Entando custom resources
curl -L -C - https://raw.githubusercontent.com/entando/entando-releases/v6.3.0/dist/qs/custom-resources.tar.gz | tar -xz
oc create -f dist/crd/
- Deploy the sample application
curl -L -C - -O https://raw.githubusercontent.com/entando-samples/standard-demo/v6.3.0/deployment/sd-demo-openshift.yaml
Get the base URL of your OpenShift instance (if running in CRC or minishift this will be the IP of your local cluster). If you are using an IP based public URL add .nip.io to the end. In the command below replace <YOUR_CLUSTER_URL> with the value of the ingress for your cluster.
sed -i "s/apps.rd.entando.org/<YOUR_CLUSTER_URL>/" sd-demo-openshift.yaml
oc create -f sd-demo-openshift.yaml
- Watch the application start
watch oc get pods -n entando
Watch the installation until the cluster is ready for use, indicated by a pod named quickstart-server-* with 3/3 in the READY column and RUNNING in the STATUS column. Use CTRL-C to stop watching the deployment
- Get the ingress path to your application
oc get ingress -n entando
Copy the value that starts with quickstart-entando under hosts. Then in your browser open the app-builder by appending /app-builder/ (trailing slash is important) and the end user application at /entando-de-app.
For example:
quickstart-entando.<YOUR_IP_HERE>.nip.io/entando-de-app/
quickstart-entando.<YOUR_IP_HERE>.nip.io/app-builder/
# Installation in Public Cloud (AKS, EKS, GKE)
Follow the cluster setup instructions for your public cloud instance for Azure AKS, Amazon EKS or Google GKE. Then follow the deployment instructions below instead of deploying the default Entando application.
- Prepare Kubernetes
Create a namespace
kubectl create namespace entando
Deploy the Entando custom resources
curl -L -C - https://raw.githubusercontent.com/entando/entando-releases/v6.3.0/dist/qs/custom-resources.tar.gz | tar -xz
kubectl create -f dist/crd/
- Deploy the sample application
curl -L -C - -O https://raw.githubusercontent.com/entando-samples/standard-demo/v6.3.0/deployment/sd-demo-cloud.yaml
In the command below replace <YOUR_NGINX_INGRESS_IP> with the value of the IP you retrieved for nginx in setting up your public cloud cluster.
sed -i "s/apps.rd.entando.org/<YOUR_NGINX_INGRESS_IP>.nip.io/" sd-demo-cloud.yaml
kubectl create -f sd-demo-cloud.yaml
- Watch the application start
watch kubectl get pods -n entando
Watch the installation until the cluster is ready for use, indicated by a pod named quickstart-server-* with 3/3 in the READY column and RUNNING in the STATUS column. Use CTRL-C to stop watching the deployment
- Get the ingress path to your application
kubectl get ingress -n entando
Copy the value that starts with quickstart-entando under hosts. Then in your browser open the app-builder by appending /app-builder/ (trailing slash is important) and the end user application at /entando-de-app.
For example:
quickstart-entando.<YOUR_IP_HERE>.nip.io/entando-de-app/
quickstart-entando.<YOUR_IP_HERE>.nip.io/app-builder/
# Installation in Local Environment
The instructions below include setting up a local Kubernetes instance using multipass and K3s.
- Install Kubernetes Install Multipass (opens new window)
Launch VM
multipass launch --name ubuntu-lts --cpus 4 --mem 8G --disk 20G
Open Ubuntu shell
multipass shell ubuntu-lts
Install k3s
curl -sfL https://get.k3s.io | sh -
- Prepare Kubernetes
Create a namespace
sudo kubectl create namespace entando
Deploy the Entando custom resources
curl -L -C - https://raw.githubusercontent.com/entando/entando-releases/v6.3.0/dist/qs/custom-resources.tar.gz | tar -xz
sudo kubectl create -f dist/crd/
- Deploy the sample application
curl -L -C - -O https://raw.githubusercontent.com/entando-samples/standard-demo/v6.3.0/deployment/sd-demo-kubernetes.yaml
ROUTING_SUFFIX=$(hostname -I | awk '{print $1}').nip.io
sed -i "s/apps.rd.entando.org/$ROUTING_SUFFIX/" sd-demo-kubernetes.yaml
sudo kubectl create -f sd-demo-kubernetes.yaml
- Watch the application start
sudo watch kubectl get pods -n entando
Watch the installation until the cluster is ready for use, indicated by a pod named quickstart-server-* with 3/3 in the READY column and RUNNING in the STATUS column. Use CTRL-C to stop watching the deployment
- Get the ingress path to your application
sudo kubectl get ingress -n entando
Copy the value that starts with quickstart-entando under hosts. Then in your browser open the app-builder by appending /app-builder/ (trailing slash is important) and the end user application at /entando-de-app.
For example:
quickstart-entando.<YOUR_IP_HERE>.nip.io/entando-de-app/
quickstart-entando.<YOUR_IP_HERE>.nip.io/app-builder/
# Source Code
The source the Entando sample application is open source and can be found with our other open source examples and tutorials on GitHub at:
https://github.com/entando-samples/standard-demo (opens new window)