# Create a React Micro Frontend
# Prerequisites
- A working instance of Entando
- Use the Entando CLI to verify all dependencies are installed:
ent check-env develop
# Create a React App
Create React App (opens new window) allows you to generate a simple app in seconds.
- Create a React app:
npx create-react-app my-widget --use-npm
This tutorial updates the following files:
my-widget
├── README.md
├── public
│   └── index.html
└── src
    ├── App.js
    └── index.js
- Start the app:
cd my-widget
npm start
The React app should open in your browser at http://localhost:3000.
# Configure the Custom Element
The steps below wrap the app component with an HTML custom element. The connectedCallback method renders the React app when the custom element is added to the DOM.
In
my-widget/src, create a file namedWidgetElement.jsAdd the following code to
WidgetElement.js:
import React from 'react';
import ReactDOM from 'react-dom/client';
import App from './App';

class WidgetElement extends HTMLElement {
    connectedCallback() {
        this.mountPoint = document.createElement('div');
        this.appendChild(this.mountPoint);
        const root = ReactDOM.createRoot(this.mountPoint);
        root.render(<App />);
    }
}

customElements.define('my-widget', WidgetElement);

export default WidgetElement;
Custom Element Names
- Must contain a hyphen
-in the name (opens new window) - Cannot be a single word
- Should follow
kebab-casenaming convention
# Display the Custom Element
- Replace the entire contents of
src/index.jswith these two lines:
import './index.css';
import './WidgetElement';
- In
public/index.html, replace<div id="root"></div>with this:
<my-widget />
- Observe your browser automatically redisplay the React app
Congratulations!
You’re now using a custom element to display a React app.
# Display the Micro Frontend in Entando
# Build the React App
To deploy the custom element into Entando as a micro frontend, you must perform a production build of the React app.
- In the
my-widgetdirectory, create an.env.productionfile that consists of one line:
PUBLIC_URL=/entando-de-app/cmsresources/my-widget
Notes
/entando-de-app/cmsresources/is the Resource URL for your Entando Application, which matches nearly all development environments. Consult your Entando admin or use the following fragment to discover the Resource URL.
  <#assign wp=JspTaglibs[ "/aps-core"]>
  <@wp.resourceURL />
/my-widgetis the public folder that hosts the JavaScript and CSS files for the React app
- Build the app:
npm run build
# Upload the React files
To set up the micro frontend to use in Entando:
In your App Builder, go to
Administration→File browser→publicClick
Create folderand name it "my-widget" to match the.env.productionpath aboveClick
SaveClick
my-widgetCreate a folder structure similar to your generated build directory:
my-widget/static/cssmy-widget/static/jsmy-widget/static/media
- Upload the css, js, and logo files from the corresponding directories under
my-widget/build/static, for example:
my-widget/build/static/css/main.073c9b0a.cssmy-widget/build/static/js/main.b9eb8fa4.jsmy-widget/build/static/media/logo.6ce2458023.svg
Note: The generated ID of each file name (e.g. '073c9b0a') may change after every build. These folders may also contain LICENSE.txt or .map files, but they are not applicable to this tutorial.
# Create the Widget
Add a widget for your MFE.
In your App Builder, go to
Components→MFE & WidgetsClick
Addin the lower right corner
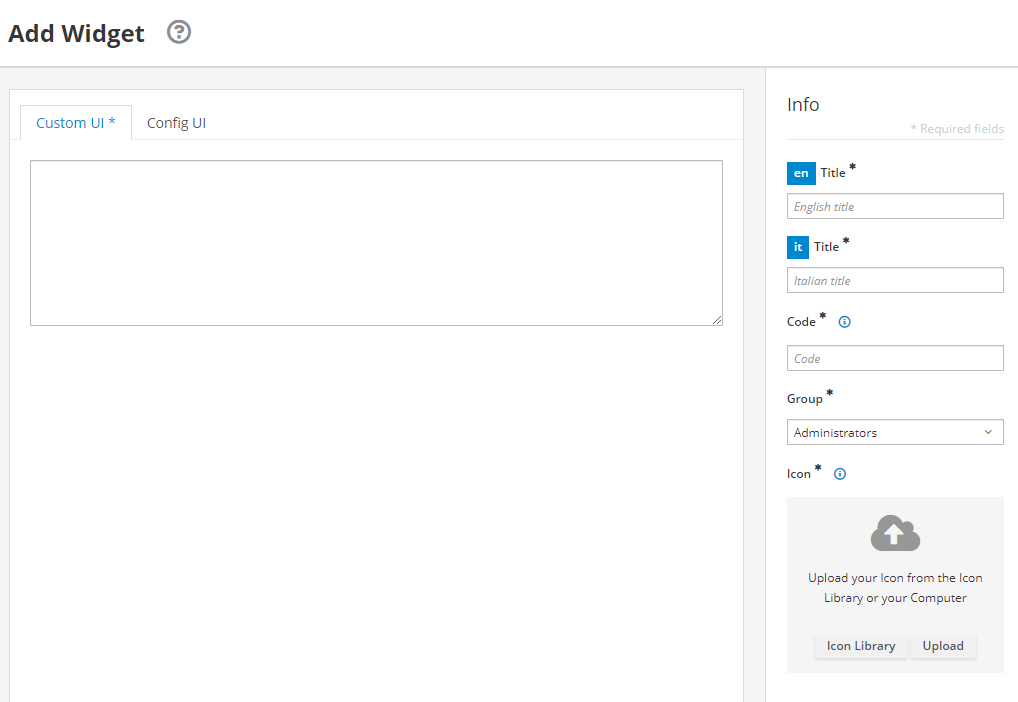
- Edit the fields below:
Title: "My Widget" → enter this in both the English and Italian language fieldsCode: "my_widget" → dashes are not allowedGroup: "Free Access"Icon: upload or select an icon of your choice- In the center panel under
Custom UI, enter the following. Make sure to use the actual file names from your build.
<#assign wp=JspTaglibs[ "/aps-core"]>
<link rel="stylesheet" type="text/css" href="<@wp.resourceURL />my-widget/static/css/main.073c9b0a.css">
<script async src="<@wp.resourceURL />my-widget/static/js/main.b9eb8fa4.js"></script>
<my-widget />
- Click
Save
# View the Widget
Place the React micro frontend onto a page to see it in action.
In the
Entando App Builder, go toPages→ManagementChoose an existing page (or create a new one) and select
Designfrom its ActionsFind your widget in the
Widgetssidebar and drag it onto the pageClick
PublishClick on
View Published Page
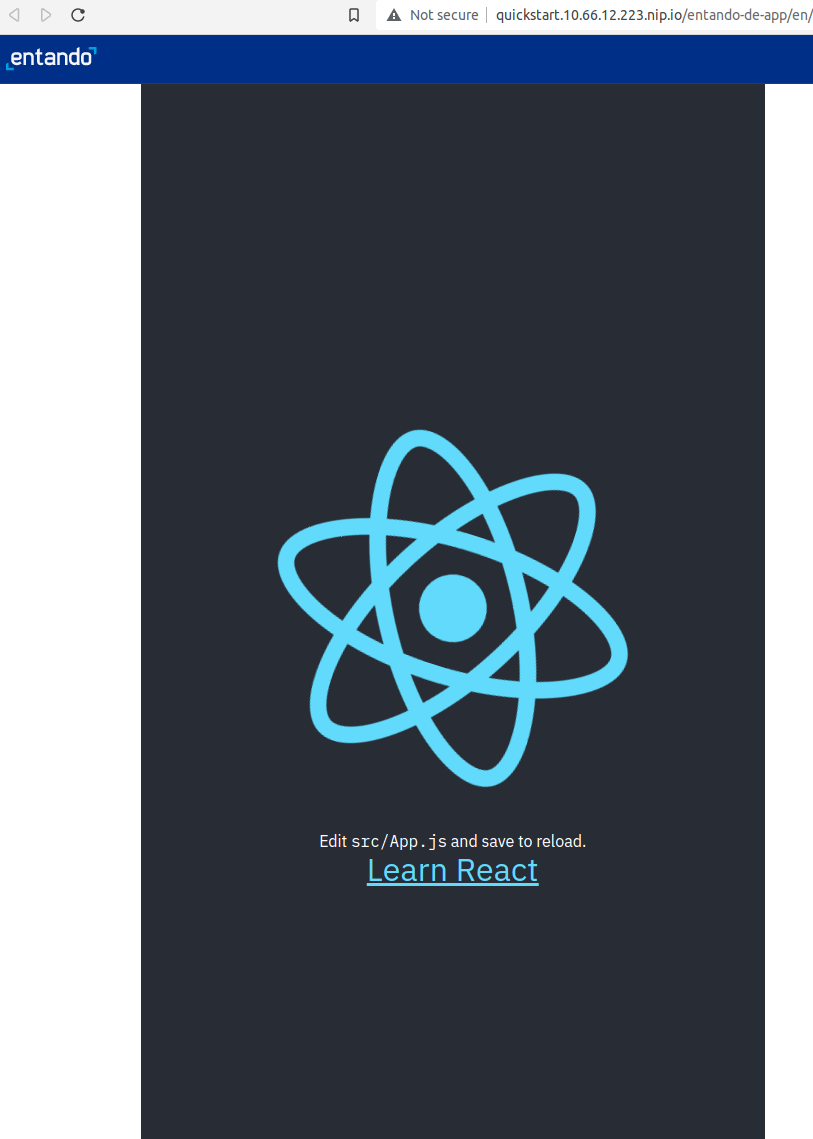
Congratulations!
You now have a React micro frontend running in Entando.
← Introduction Angular →