# Use Postman with OAuth2 APIs
# Overview
The tutorial will help you to configure Postman to reach your APIs secured with OAuth2 and Keycloak.
In this tutorial, we will call an API from an application generated with the Entando JHipster blueprint.
# Prerequisites
Get the Postman (opens new window) application or create an account to use it on the web. The screenshots in this tutorial have been made with the current web version.
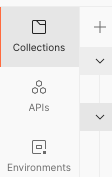
# Create a new Postman Collection
According to the official website
Postman's collection folders make it easy to keep your API requests and elements organized.
This helps us to gather different requests under the same folder but also to share the configuration and the Auth mode among them.
Click on the button when you are on the collection left menu.
Name it as you want, we usually try to create a collection per application.
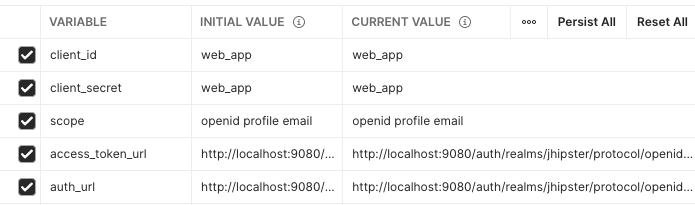
# Define Collection variables
Postman allows us to define variables for a given collection, and we can use them at the collection level to configure the OAuth2 settings but also at the request level.
Please note you can choose the variable names you want, according to what makes sense to you.
| Variable | Default value in a Blueprint-based Entando App | Details |
|---|---|---|
| client_id | web_app | The client id account used to authenticate the user |
| client_secret | web_app | The secret for the client_id |
| scope | openid profile email | The scope to retrieve during the auth |
| access_token_url | http://localhost:9080/auth/realms/jhipster/protocol/openid-connect/token | The token endpoint |
| auth_url | http://localhost:9080/auth/realms/jhipster/protocol/openid-connect/auth | The authorization endpoint |
| base_url | http://localhost:8081/api | The url all the requests start with |
Notes:
The base_url variable is added for convenience, but is not mandatory for authentication purposes
Use the .well-known endpoint to retrieve these values if you don't have them
http://keycloak_host:keycloak_host/auth/realms/<realm>/.well-known/openid-configurationFor a local running app it should behttp://localhost:9080/auth/realms/jhipster/.well-known/openid-configuration
In the Postman application, you may need to save the Collection in order to make the variables available in the following steps.
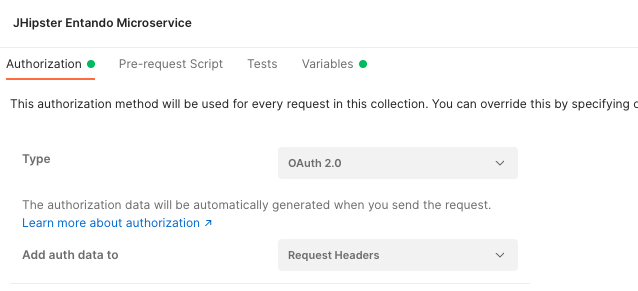
# Configure new token generation
In your collection view, click on the Authorization tab and define the type to OAuth 2.0 as-is:
Enter the fields with the variables previously defined. You can define the Token Name with the value you want:
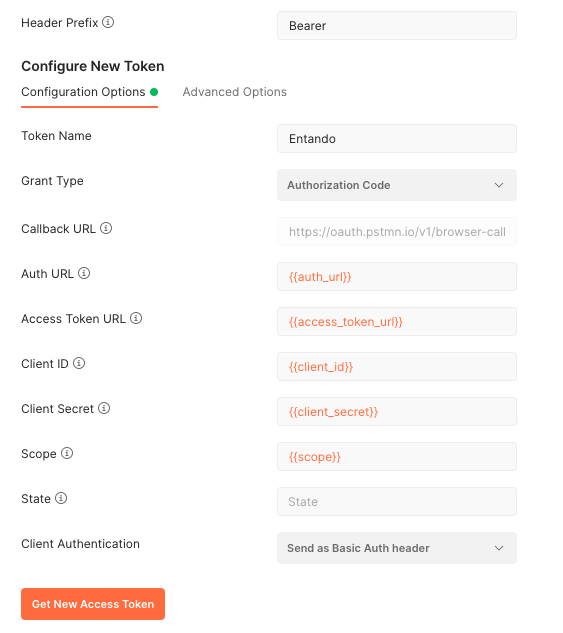
Please note, regarding you are using the Postman Web or the app, the Callback URL field contains different values.
Basically, the Web solution needs to use a specific value while the App just need to use a value already
present in the Keycloak configuration (e.g. http://locahost:8081)
This is the reason why we need to update the Keycloak configuration with Postman Web.
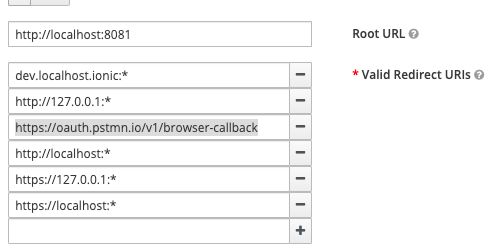
# Update your Keycloak configuration (Postman Web only)
To generate a new token you need to ensure the Postman redirect URL is configured in the Keycloak admin panel. There https://oauth.pstmn.io/v1/browser-callback (or a wildcard *) should be present in the Valid Redirect URIs list for your client.
This URL is used to redirect to the Postman app after authentication successfully completes.
# Generate a new token
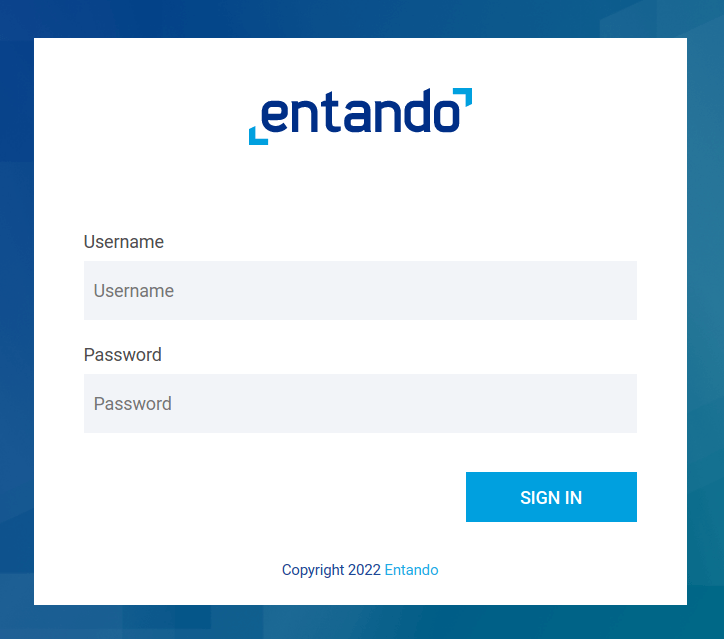
Clicking on the Get New Access Token will open the Keycloak login form and then you can authenticate with the user to be used when testing the API. The user will need to already be assigned the appropriate roles.
After the authentication succeeds, you should be redirected to the Postman app.
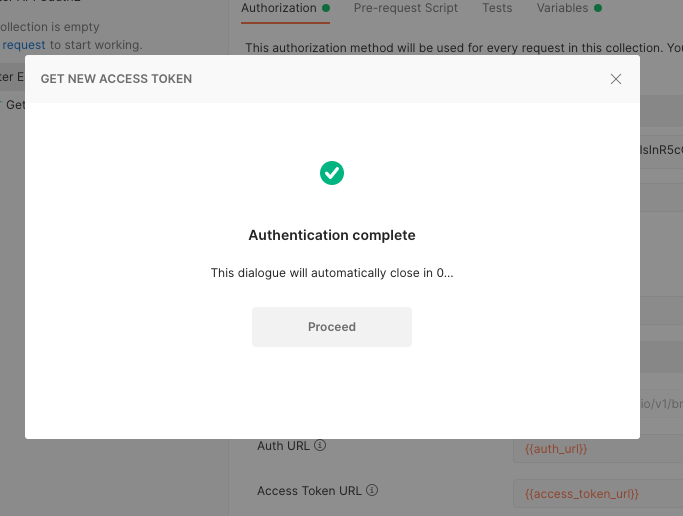
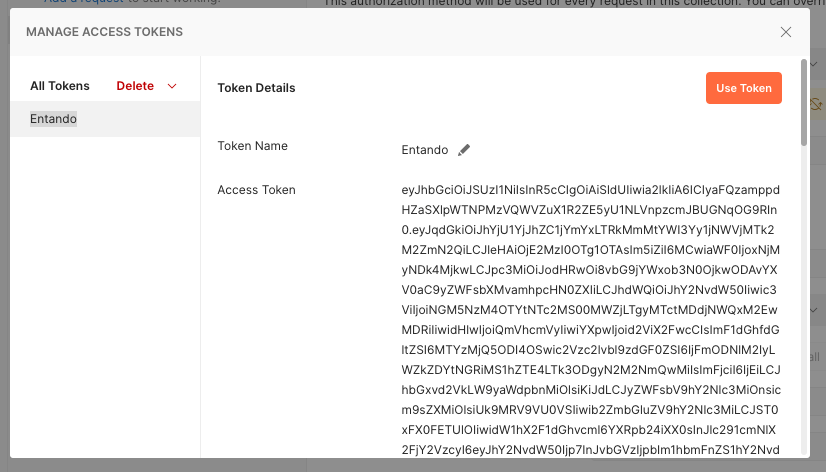
The token is then displayed in a window and you can confirm its use by clicking on the Use Token button.
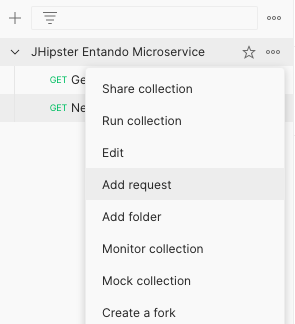
# Add a request
The next step is to add a request to the collection, using the previous OAuth2 config as an authorization method.
In your collection name click on the Add request entry
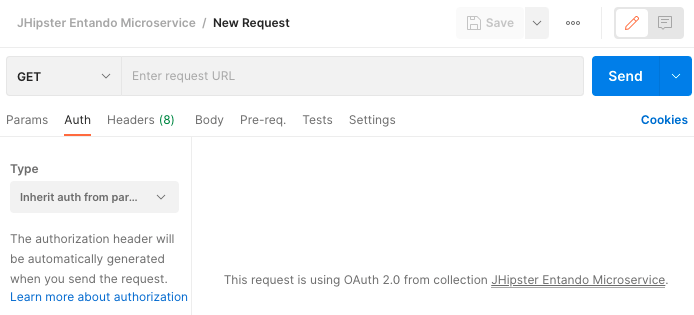
In the Auth tab select Inherit auth from parent. Requests in the collection can then inherit those settings,
allowing you to execute a configuration step every time you add a new one.
Postman will then automatically add an Authorization header with a Bearer Token value where Token is the token value generated in the previous step.
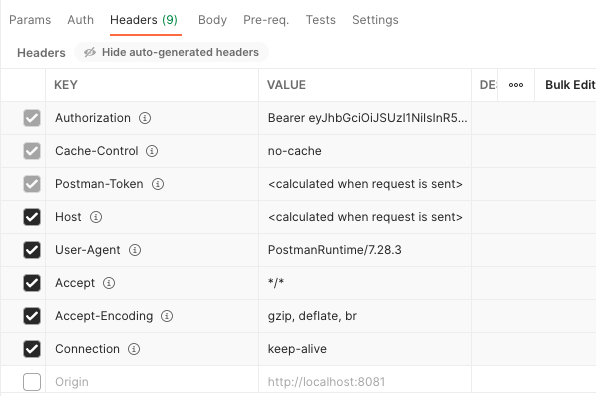
Note:
By default, these headers are hidden. A button allows you to display them.
Finally, you can define the endpoint you want to consume, the HTTP method to use and add more headers if needed.
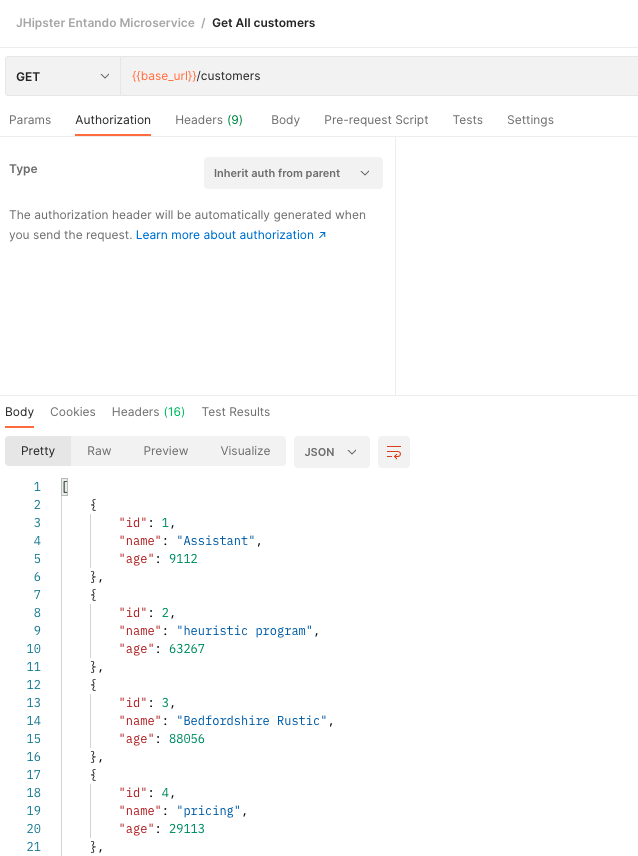
The expected result should be a 2XX code from our API.
If you experience a 401 error, this probably means that the token is not valid anymore.
Because the token has an expiration period, it's mandatory to refresh it frequently.
To get a new token execute the Generate a new token section again.
# Troubleshooting
For security reasons, the access token timeout should always be short to avoid security issues if someone steals the token. The refresh token can be used to acquire a new access token when the access token has expired. The process would be:
- Get the Access token (and the Refresh Token)
- Call the API
- Check if the token is still valid
- The token is valid: execute the call
- The token has expired: use the refresh token to generate a new Token and execute the call
Unfortunately, Postman doesn't handle the refresh action if the token has expired, and you need to generate a new one by yourself by clicking on the Get new access token button.
To avoid this manual action you can make the token longer by updating the timeout over 5 min. However, we do not recommend this solution outside of a local development environment.
The Postman team is tracking this issue and plans to include this feature in a future release: https://github.com/postmanlabs/postman-app-support/issues/10112 (opens new window).