# Digital Assets
The Entando Web Content Management System (WCMS) includes capabilities to manage content and digital assets. Digital assets are images, documents and other media files with specific formats.
Default Supported Document Formats: pdf, xls, doc, ppt, txt, rtf, sxw, sxc, odt, ods, odp, tar, gz, zip, rar, flv, swf, avi, wmv, ogg, mp3, wav, ogm, mov, iso, nrg, docx, docm, xlsx, xlsm, xlsb, pptx, pptm, ppsx, ppsm, sldx, sldm
The Entando WCMS can be configured to allow or exclude any type of file extension. The MIME type of each App Builder asset should be specified.
Default Supported Image Formats: jpg, jpeg, png, svg, svg+xml
# Manage Assets
- Log in to the App Builder
- From the left sidebar, go to
Content→Assets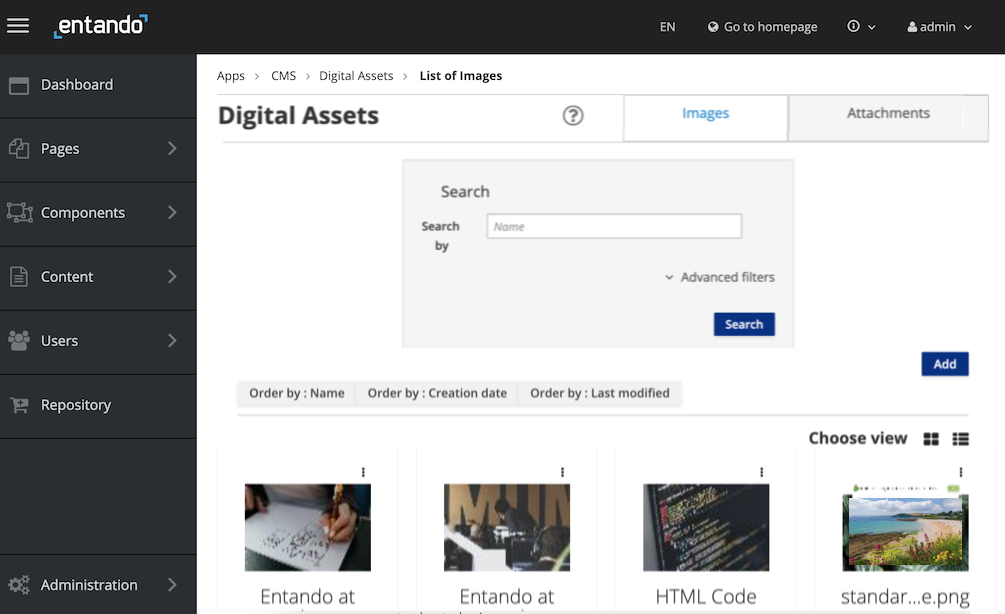
- View
ImagesorAttachmentsusing the links at the top of the page - Search for assests by Name and/or the parameters of the
Advanced filtersfunction - Assets are displayed by Name in alphabetical order. Change the order using the buttons above the list and
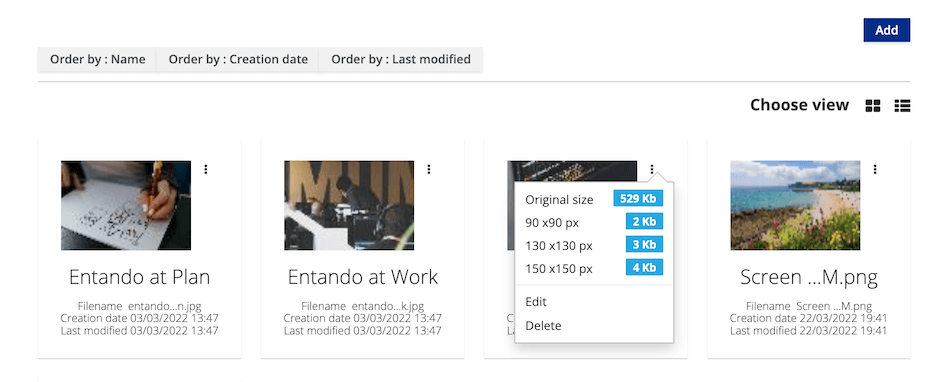
Choose Viewto toggle between list and grid formats - Click on the action menu (indicated by three vertical dots) of the resource to edit or delete the asset and preview available sizes
- View
# Add a New Asset
- From the left sidebar of the App Builder, go to
Content→Assets - Click the
Addbutton to add a new image or document file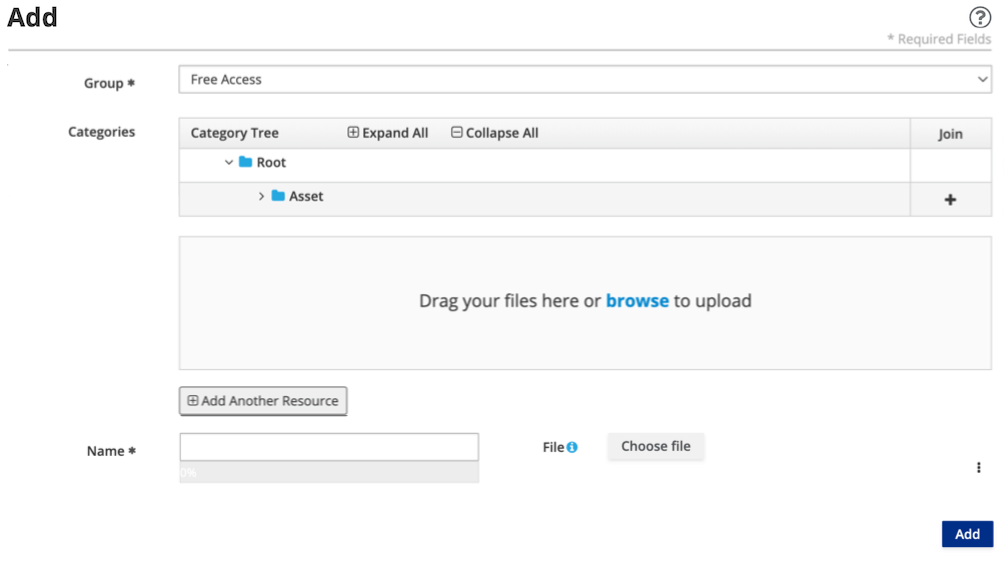
- Define the asset parameters:
Group: Choose from the drop-down menu. This is a required field and defaults toFree Access. Additional groups can be defined in the Users section of the App Builder.Categories: You have the option to add the asset to a category using the+symbol underJoin. Categorizing an asset expands upon the criteria by which it can be searched and sorted. New categories can be created viaContent→Categories.- Add your asset by dragging it into the frame or click
browseto select it from the file system. The file you choose should appear in the Name field, which is a required value. Multiple files can be selected simultaneously. To add files individually, useAdd Another ResourceandChoose file(for the first asset selection) orSelect file(for subsequent assets).
- (Image only) You have the option to flip, rotate or crop your image per Edit Assets
- Click
Addto upload your asset(s) - Confirm the list of assets displays the file(s) you uploaded
# Edit Assets
- From the left sidebar of the App Builder, go to
Content→Assets - Click on the action menu (indicated by three vertical dots) of the resource
- Select
Editto modify the asset:- Edit the asset name via the text field
- Edit the asset's category using the
+button underJoin - To edit an image:
- Click on the actions menu to the right of the image and select
Edit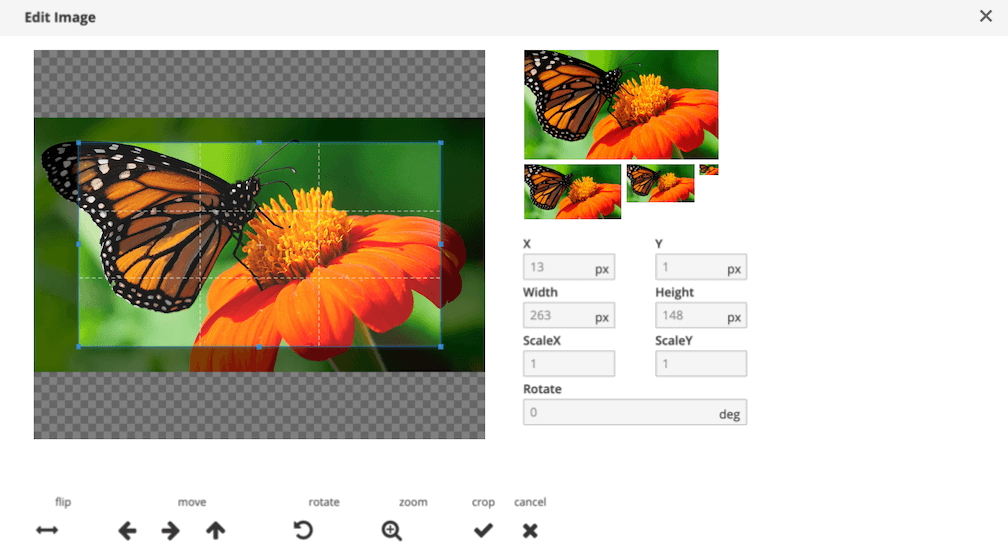
- Use the arrows to flip, rotate or recenter your image
- Click the
Cropcheck button to resize your image. ClickFreeto remove resizing ratio restrictions. - (Optional) repeat this process to create additional modified instances of the image
- Click
Done - Click
Addto save all image versions
Note: Only newly uploaded images can be flipped, rotated or cropped
- Click on the actions menu to the right of the image and select
- Click the
Addbutton to save your edits
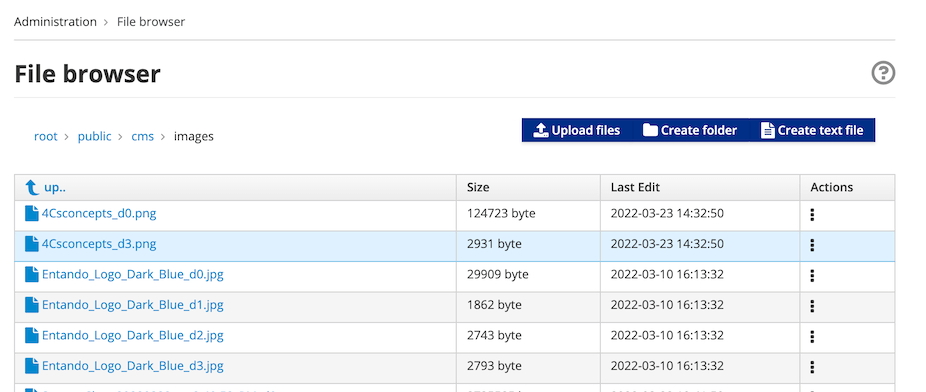
TIP
To organize or download assets, go to Administration → File browser and navigate to /public/cms
# Embed an Image on a Page
An image can be embedded on a page using FreeMarker code following the format of <@wp.resourceUrl>cms/images/YOUR-ASSET.jpg. Go to Administration → File Browser in the App Builder to see the list of uploaded images.
# Include an Asset in Content
The asset can be added to a content type that has an Attach or Image attribute. Refer to the Content Type tutorial for a detailed set of instructions.
# Configure File Extensions for Upload
The file types that can be uploaded to an Entando Application are defined on the server side of the App Builder, e.g. in entando-de-app of a quickstart application.
Two properties in src/main/conf/systemParams.properties specify the supported file types via comma delimitted lists:
jacms.imageResource.allowedExtensions=jacms.attachResource.allowedExtensions=
For example, jacms.imageResource.allowedExtensions=jpg,jpeg,png,svg,svg+xml, where svg+xml is the MIME type for an SVG image. The MIME type of an asset is checked by APIs that support resources and should be defined in addition to the asset's file extensions.
The systemParams.properties file is bundled into the WAR, so an image must be created and deployed to reflect changes to these properties.